
8 stages, layer by layer answer for the Rubik's 3D shape
In this visual aide on the best way to tackle a Rubix Shape, composed by the Singapore Rubik's Block Champion, we will utilize a strategy known as the layer-by-layer technique. A Rubix Block contains 3 layers and we will tackle them 1 by 1..
Stage 1-3 are intended to address the principal layer of the Rubix Shape
Stage 4 addresses the center layer of the Rubix 3D shape
Stage 5-8 addresses the last layer of the Rubix 3D shape
Step 1
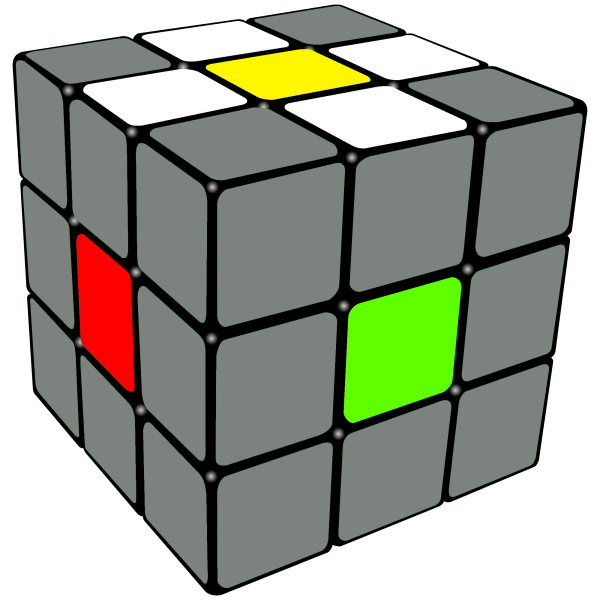
A 'flower' pattern - surround the yellow center with white edges
In the first place, you will encompass the yellow communities with the white edges. This will frame what resembles a 'white lily'.
This is the pre-cross step.
Try not to stress over the wording in the event that you can't comprehend them, I will make sense of them before we start tackling the Rubik's Shape.
Step 2
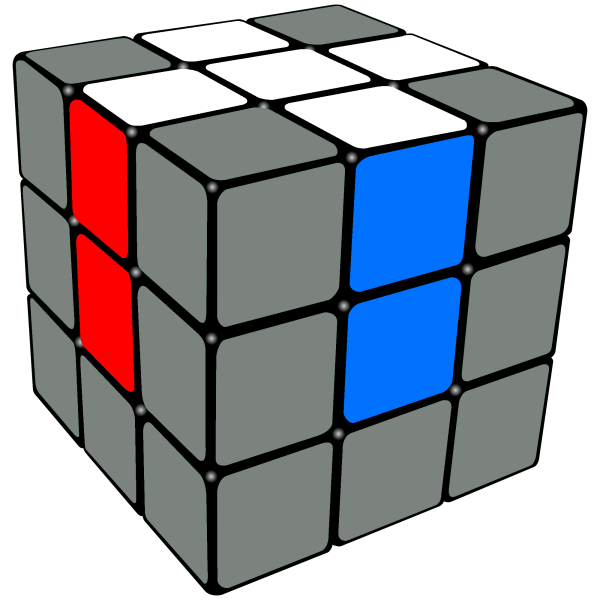
A white cross- white edges are connected to the white center, forming a cross. notice that the color at the side are matching as well
We will move the white edges so they interface with the white place, shaping a cross at the highest point of the Rubik's Block.
Note that the side of the white cross have matching tones too.
Step 3
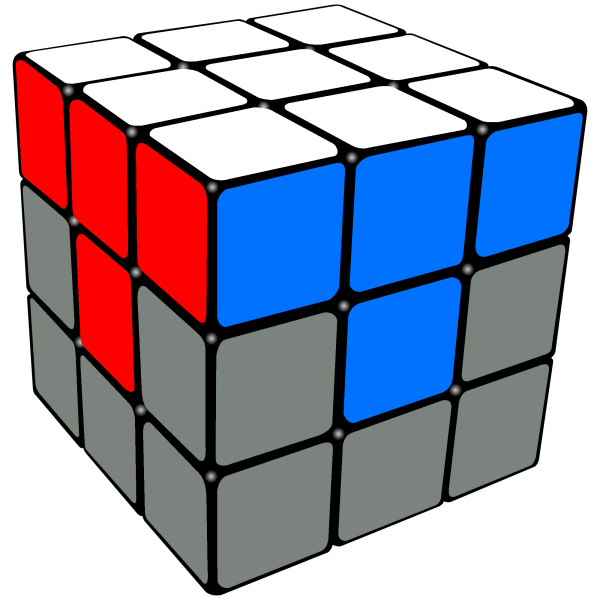
First layer done - corners have been inserted into the right place to form one layer of the Rubik's Cube
Embed corners into the perfect locations to shape the absolute first layer of the Rubik's Block
note that the sides have a small scale T on them
Step 4
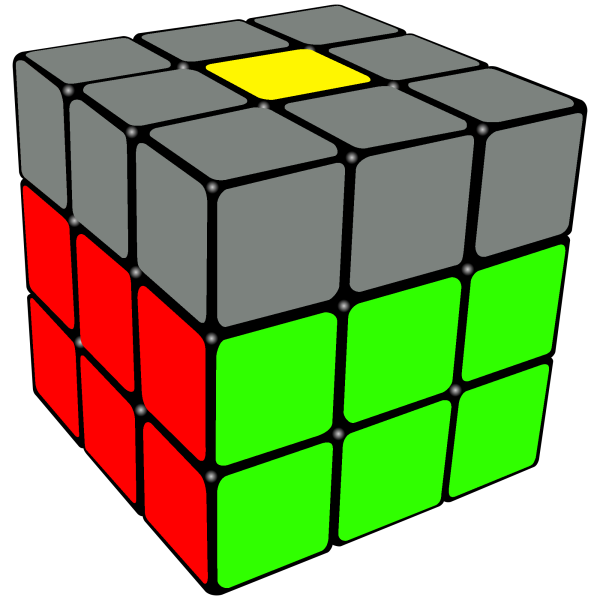
2 layers have been completed
By placing the right edges into the center layer, we would have finished two layers of the Rubik's Solid shape. Another layer to go!
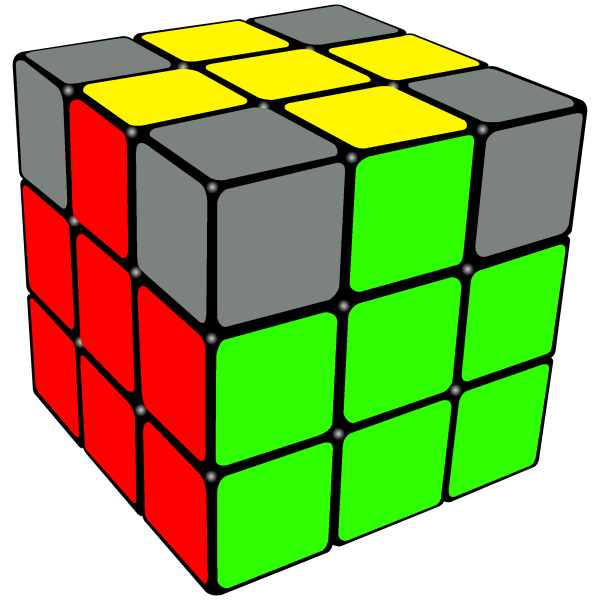
Step 5

A yellow cross have been formed at the top of the Rubik's Cube
We will currently flip edges to make a yellow cross at the highest point of the Rubik's Block
So lovely!
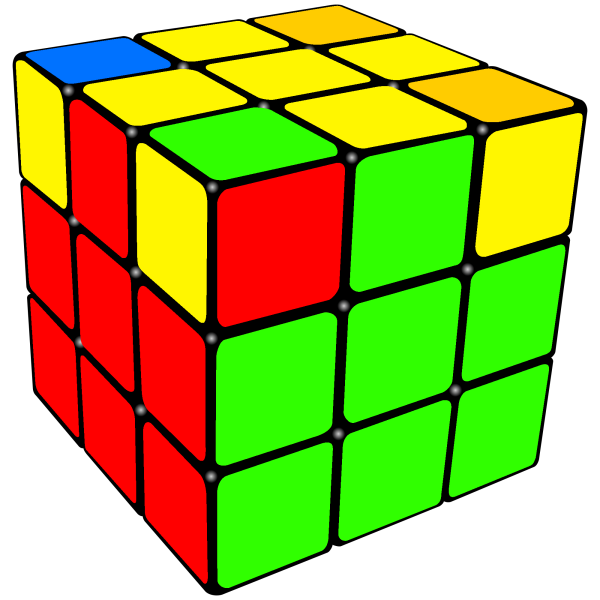
Step 6
The sides of the top layer cross are now done
We will move the top edges around to match them to the sides
Step 7
Last 4 corners in their correct place
Move the corners to the right places
Step 8
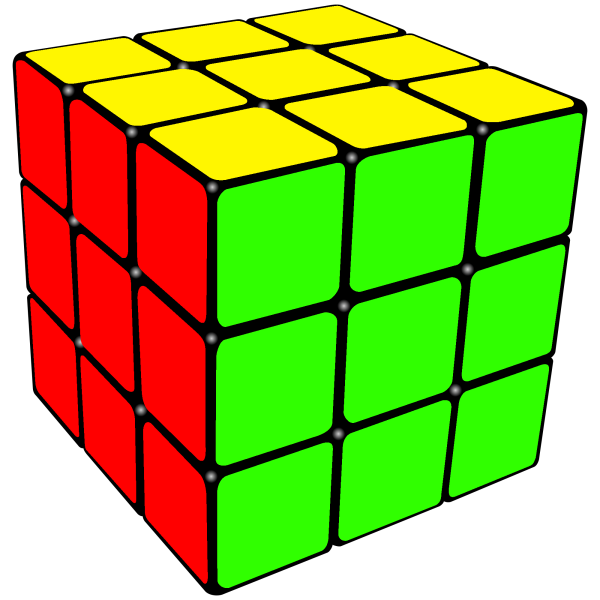
A solved Rubik's Cube
No comments:
Post a Comment